Load
Fill with the intended roast and weight; leave room for a clean top closure.
 Get a Quote
Coffee Bean Packaging
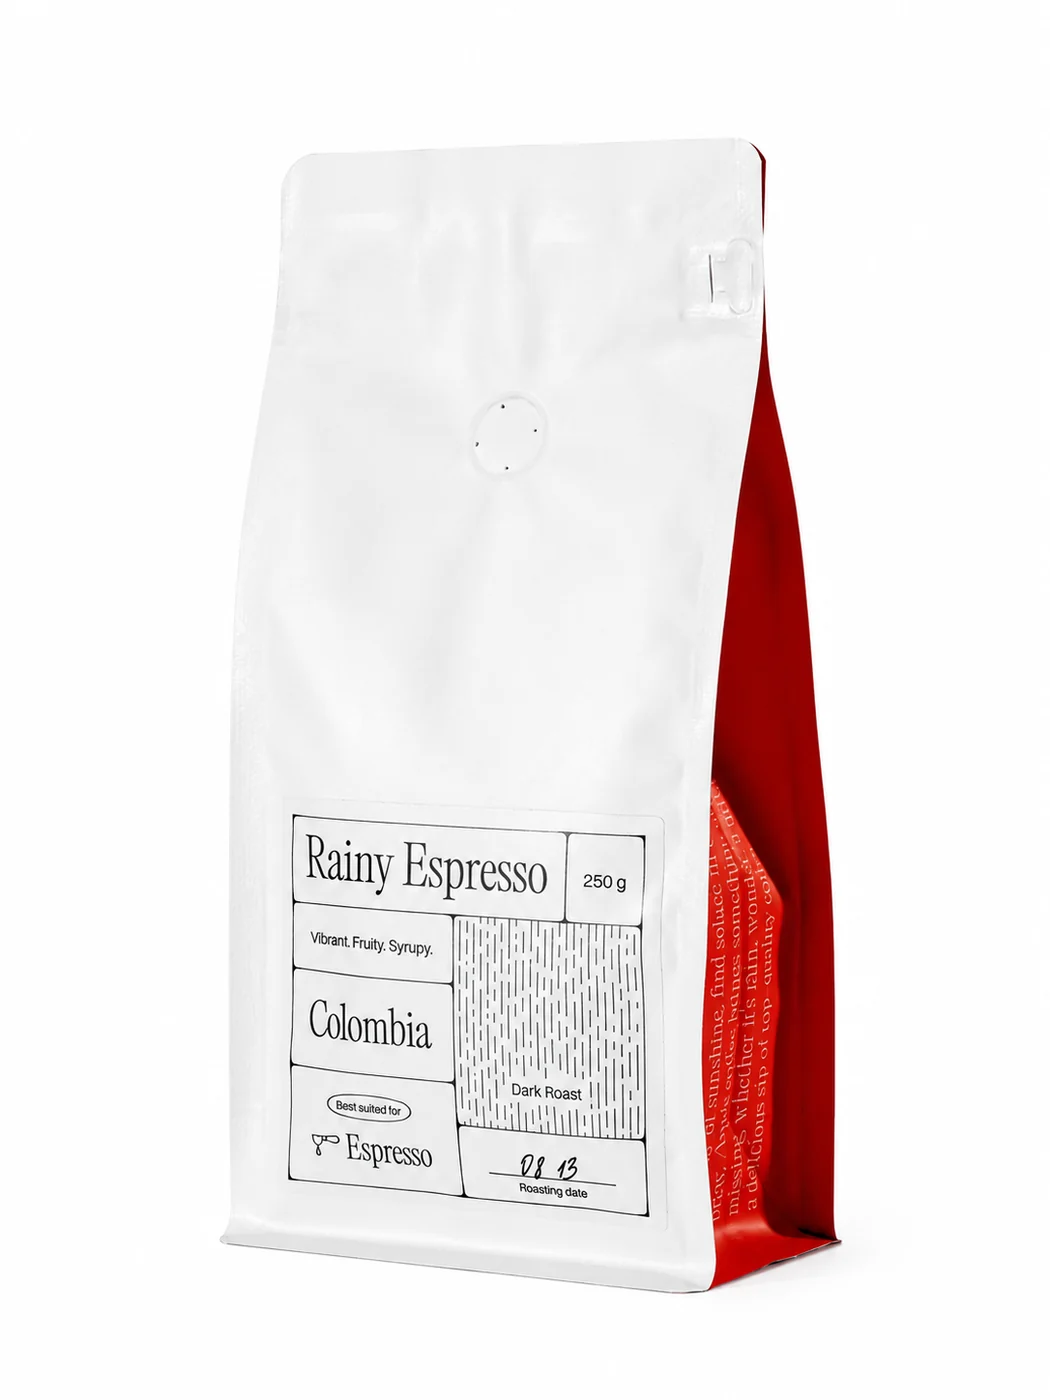
A five-panel coffee bag with a stable shelf base and defined branding area.
Sizes & capacity: 50 g to 5 kg; popular sizes: 100 g, 250 g, 500 g, and 1 kg
Use case
Flat Bottom Coffee Bags use a flat base and five printable panels to organize a retail design. Set the W / H / G dimensions, closure, valve, and laminate around the filled roast and packing route.
Flat bottom coffee bags
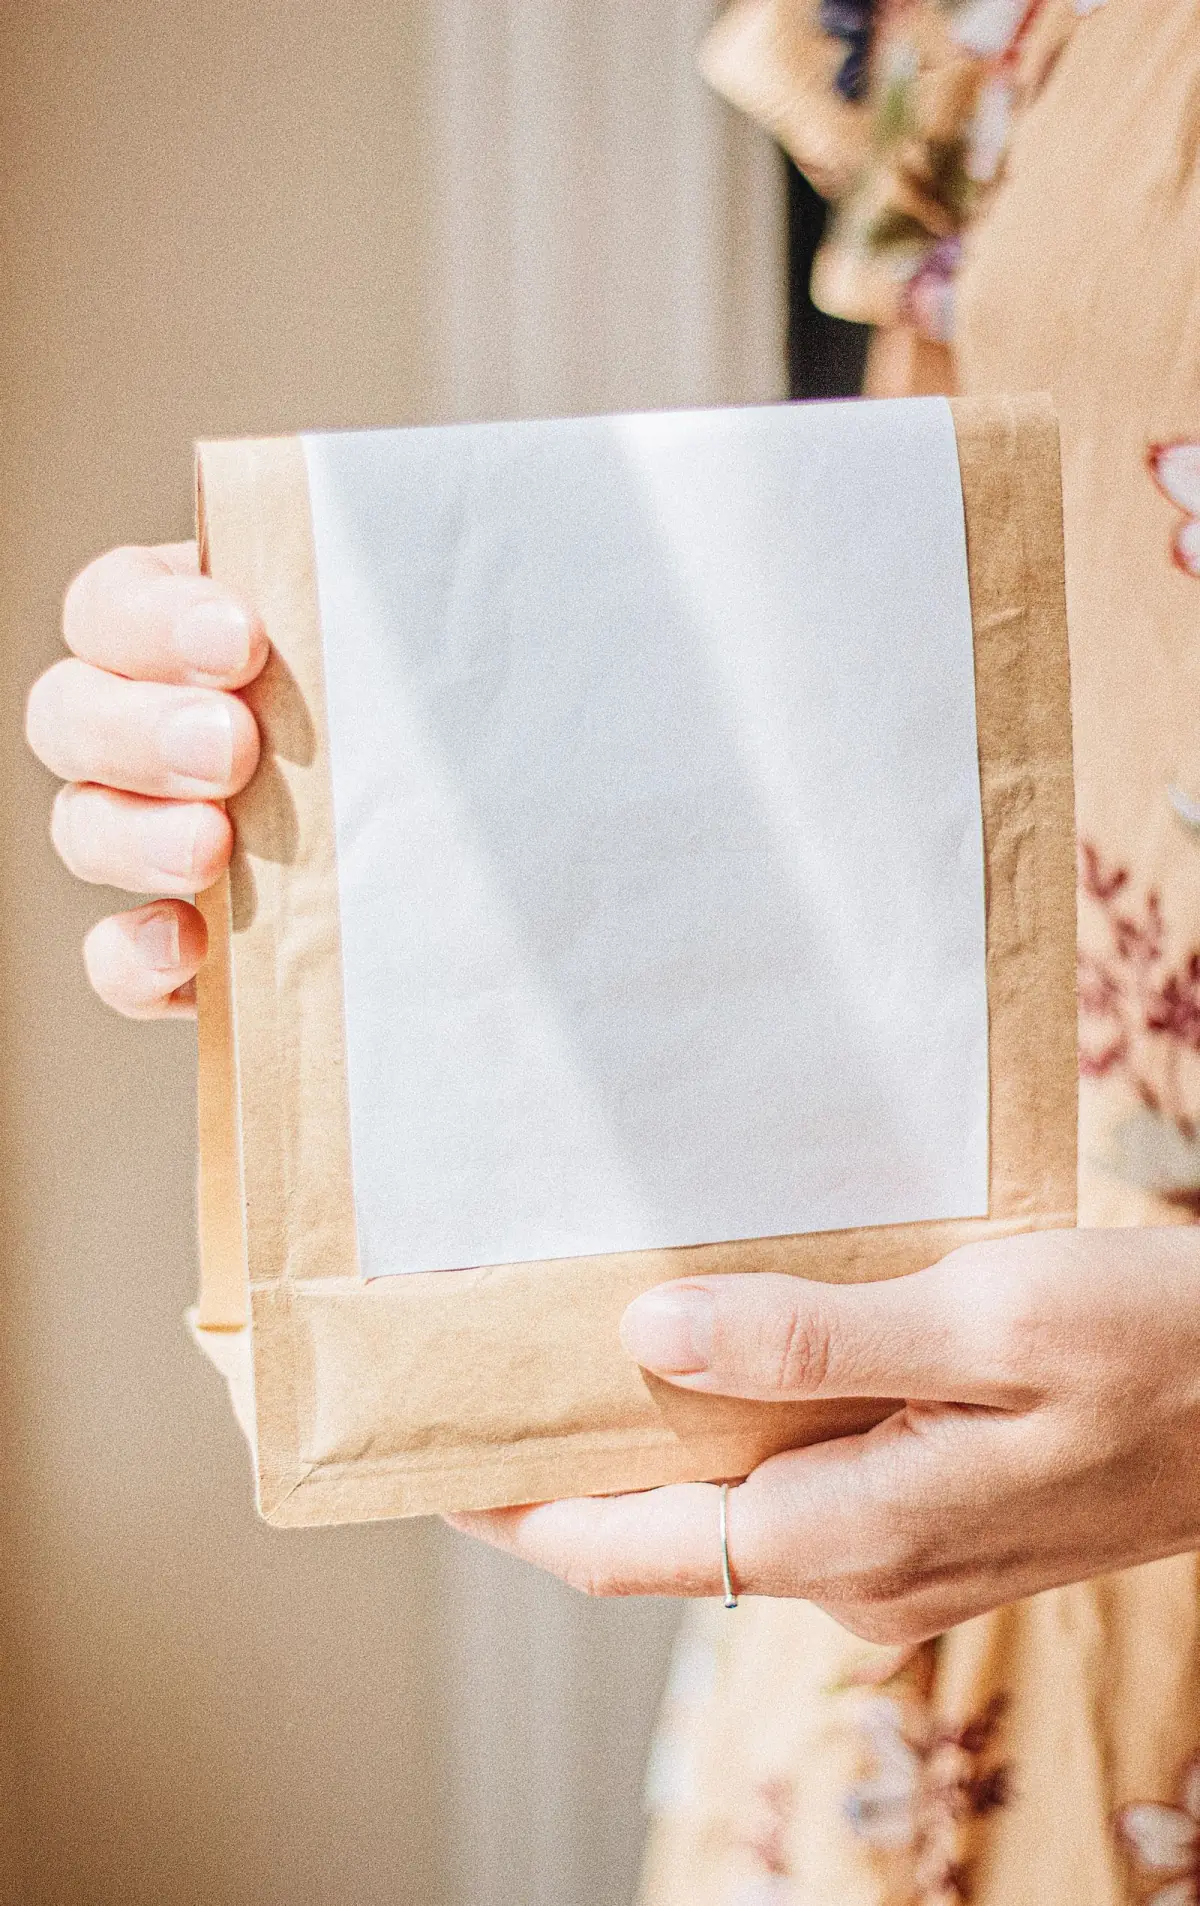
Fill your coffee at the target weight. Check the readable brand, origin and net weight on the expanded front panel.
A shared branded bag can leave a controlled label area for changing coffees. Confirm quantities separately by size and artwork.
Compare filled footprints in a real case. Keep the accepted sample, dimensions and specification revision for receiving checks.
Format details

The broad front and back panels give a retail design a clear reading area, while the folded base opens into a rectangular footprint. Side panels connect the face to that base, so the bag keeps a defined shape when filled. The top remains a separate working zone for loading, a zipper, a degassing valve when selected, and the final seal. Start with the coffee and target fill; choose width, height, and gusset only after checking how the real roast settles.
Practical sequence
Fill with the intended roast and weight; leave room for a clean top closure.
Set zipper and valve positions, then seal without trapping beans in the seam.
Open the base and check the shelf face, carton fit, and easy reclosure.
Choose W / H / G, laminate, finish, zipper, valve, and artwork panel treatment for the filled bag.
Use the actual roast to check base opening, balance, valve clearance, seal width, and printed area before settling the dieline.
A roaster is preparing a 250 g bag and a 12 oz bag for the same shelf range. These are different net weights: 12 oz is about 340 g, and each coffee can occupy a different volume. Fill both formats with the intended roast before fixing width, height, and gusset. Compare the opened base, front-panel proportion, valve and zipper clearance, and the cartons used for each size. If one pouch platform can serve both, record separate fill targets and artwork versions so a shared look does not become a shared, incorrect dimension. If the pouch will share shelf space with another SKU, compare front-panel width and filled height side by side, then check whether both designs leave room for barcode and roast details. Take front, side, and base photos of each filled sample for comparison.
Buying notes
Open the question that matches your next decision.
The listed size or capacity options are 50 g to 5 kg; popular sizes: 100 g, 250 g, 500 g, and 1 kg. Confirm the project dimension or capacity, product dose where relevant, seal area, and filled or assembled dimensions before approving the artwork.
The flat base supports a stable shelf position and the five-panel layout creates defined print areas. Confirm W / H / G around the filled roast, then place the valve, zipper, and artwork on the approved structure.
Send the product, target size or dose, current format, artwork status, quantity, destination, and preferred sample or quote route. Start with PET/AL/PE; PET/VMPET/PE; Kraft Paper/VMPET/PE and use the checks below to frame the first discussion.
Product enquiry
Share your coffee, fill weight, planned quantity and destination. Ask about fit, samples or pricing; we will review the details needed for a useful quotation.
Custom production usually starts from 10,000 pieces. Available standard samples are free; shipping is confirmed separately.