Try the intended net weight
Check base opening, panel tension and standing stability. Leave clean film for the final seal; the overall bag height is not all usable coffee space.
 Get a Quote
Coffee Bean Packaging
A reinforced bottom-seal pouch designed for strength and stable presentation.
Sizes & capacity: 250 g, 500 g, 1 kg, and custom sizes
Use case
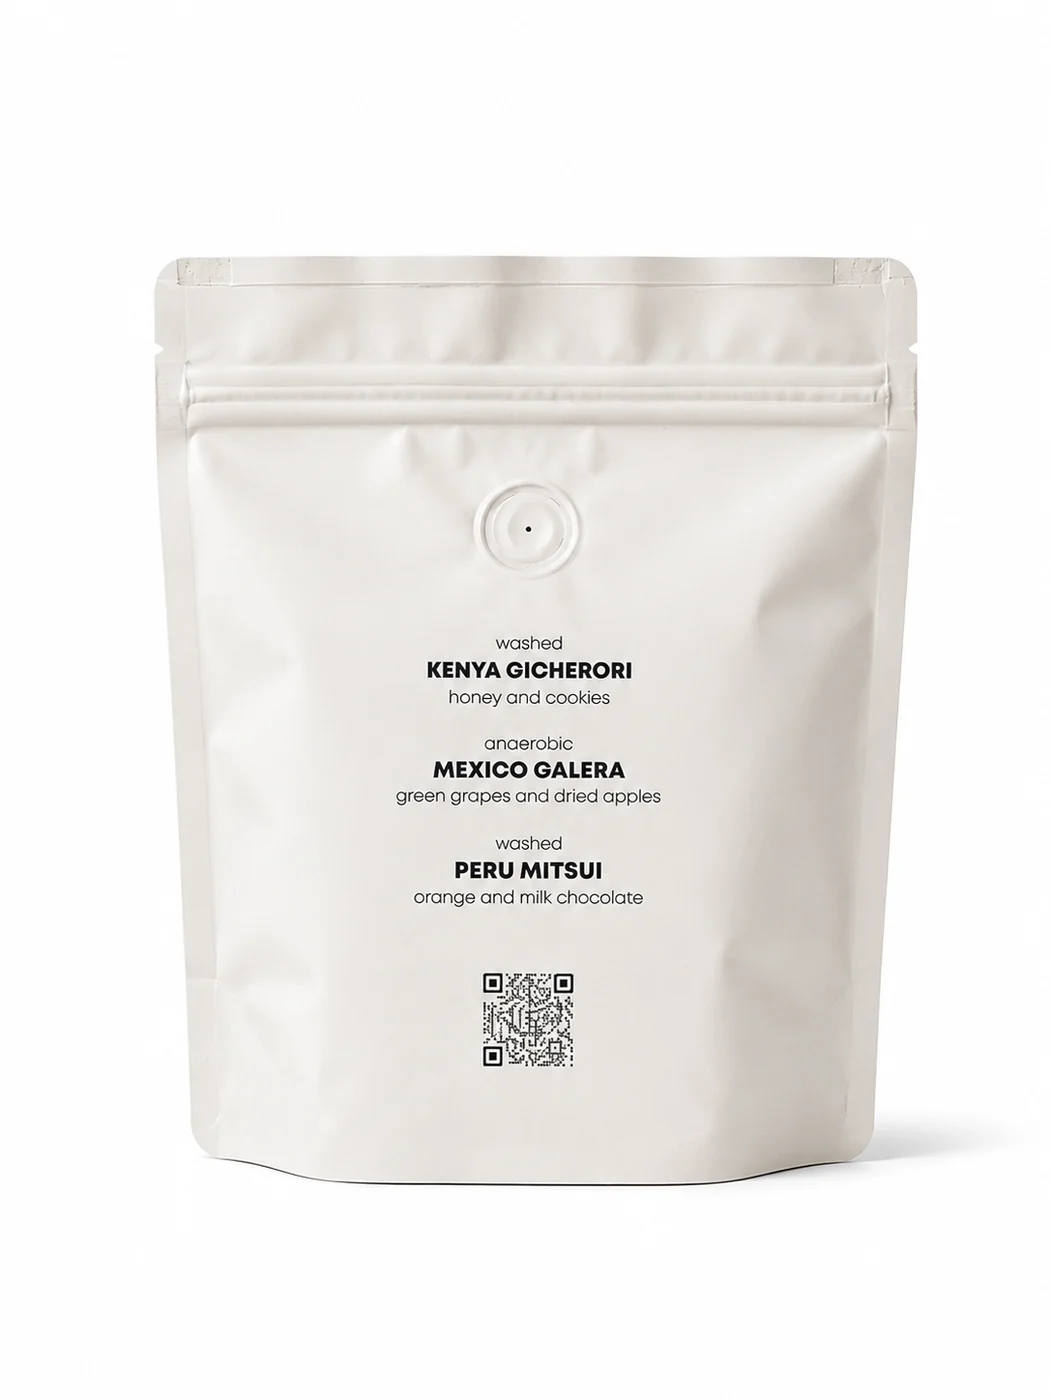
K-Seal Coffee Pouches use a reinforced bottom geometry to shape the filled pouch and carry load at the base. Confirm the filled shape, seal areas, and artwork clearance before fixing the sample dimensions.
Before you commit
A K-seal construction is worth sampling when a standing pouch and a broad display face suit the range. Confirm the filled base and opening against your coffee and packing process.
Choose and test the size →Check base opening, panel tension and standing stability. Leave clean film for the final seal; the overall bag height is not all usable coffee space.
Try opening, pouring and resealing the filled sample where a zipper is specified. Record whether the pack will ship individually, on a shelf or in a wholesale carton.
Send coffee type, net weight, bag format, quantity per design, valve or zipper needs, filling method and destination. Confirm material, sample route, artwork setup, lead time and shipping in the final quotation. Custom production starts from 10,000 pieces; available standard samples are free, with shipping confirmed separately.
Format details

A K-seal pouch uses angled bottom seals to form a support area when the pouch is filled. The base geometry is less obvious on a flat empty sample, so the best way to understand it is to fill the pouch and view it from the front and underside. The upper opening works like a pouch mouth; the lower corner folds carry the transition into the standing base. It suits projects that want a defined shelf front without the broad multi-panel construction of a flat-bottom bag.
Practical sequence
Use the intended dose so the base receives its real working load.
Open the lower folds and see whether the pouch sits as planned.
Check front-facing artwork and filled stability on the intended shelf.
Select body width and height, base seal geometry, zipper or tear, optional valve, laminate, and print finish.
Inspect the filled bottom corners, seal edges, front-face proportion, and top clearance before approving size.
A buyer is comparing a K-seal pouch with a flat-bottom bag for a new roast. Start with the filled pack on the shelf, not the empty die line. Use the same coffee and target weight, then check whether the base stays upright, whether the front panel remains readable, and whether the lower seals carry the filled load without distorting. Next compare case dimensions and the filling partner’s setup. Include any different artwork layout or carton orientation in the total project comparison, then evaluate quotations against the same specification. Record which structure and feature changes drive each quote so the buyer can compare the same size, laminate, closure, print coverage, and case quantity before choosing. Record filled stability after the pouch has stood for the review period.
Plan around this format
A K-seal pouch is decided by its filled base, not by the empty outline. Put the real coffee dose into a sample and check whether the bottom geometry carries the load without bowing or tipping. Confirm the filling opening, lower seal clearance, and the distance between the product, zipper, valve, and top seal.
The format can be useful for a stable retail presentation, but the final dimensions should reflect roast density and the packing method. Keep important copy, barcodes, and variable labels away from functional seals and any lower area that changes shape during filling.
Buying notes
Open the question that matches your next decision.
The listed size or capacity options are 250 g, 500 g, 1 kg, and custom sizes. Confirm the project dimension or capacity, product dose where relevant, seal area, and filled or assembled dimensions before approving the artwork.
The reinforced bottom geometry affects how the filled pouch stands and how the lower seals carry load. Test the filled shape and keep artwork clear of the bottom seal before fixing dimensions.
Send the product, target size or dose, current format, artwork status, quantity, destination, and preferred sample or quote route. Start with PET/AL/PE; PET/VMPET/PE; Kraft Paper/VMPET/PE; recyclable mono-material directions and use the checks below to frame the first discussion.
Choose with confidence
A K-seal pouch changes the way the base folds and supports the filled pack. Start with your coffee and the display you need, then review the actual stance.
See how samples are reviewedFill the reference to your intended weight and check the base, balance and available sealing room. Review how the pouch is loaded and placed in its case. The base shape alone does not establish the right size for your roast.
Check the main face and the transitions into the lower seals on the confirmed dieline. Keep important copy away from folds, then review the chosen print and finish against the agreed physical reference.
Use the sample to compare base opening, filled stance, sealing access and handling. Put the accepted size and construction into the written brief before approving artwork or comparing production quotations.
In practice
The lower corners should support the pack without stealing useful label space.
Put the intended coffee dose into a K-seal sample and a second candidate format. View both from the front, side and underside. The lower seal geometry can change how the pouch sits and where the printable face appears to begin.
Choose the one that fits the shelf and filling routine rather than making the decision from an empty bag photograph. Keep the test coffee and net weight the same so the comparison is meaningful.
A large illustration can cross a flexible area more successfully than a small line of critical text. Keep roast identity, weight and codes on a stable reading surface, and review the lower safe area on the actual dieline.
A digital rendering can hide the way a lower corner folds in use. Request an assembled proof or a clearly identified mockup when you need to judge that relationship.
If a trial pouch leans or the base opens unevenly, record the coffee weight, filled height and a photograph of the underside. Discuss whether geometry, material or loading needs another trial.
Do not correct the artwork first and leave the structural question unresolved. Store the approved revision separately from earlier samples so the receiving team has one clear reference when the order arrives.
Product enquiry
Share your coffee, fill weight, planned quantity and destination. Ask about fit, samples or pricing; we will review the details needed for a useful quotation.
Custom production usually starts from 10,000 pieces. Available standard samples are free; shipping is confirmed separately.