Fill
Use the opening and fill method agreed for the chosen fitment.
 Get a Quote
Ready-to-Drink & Liquid Coffee Packaging
A resealable, pourable pouch for ready-to-drink coffee and concentrates.
Sizes & capacity: 150 ml, 250 ml, 500 ml, 1 L, and custom capacities
Use case
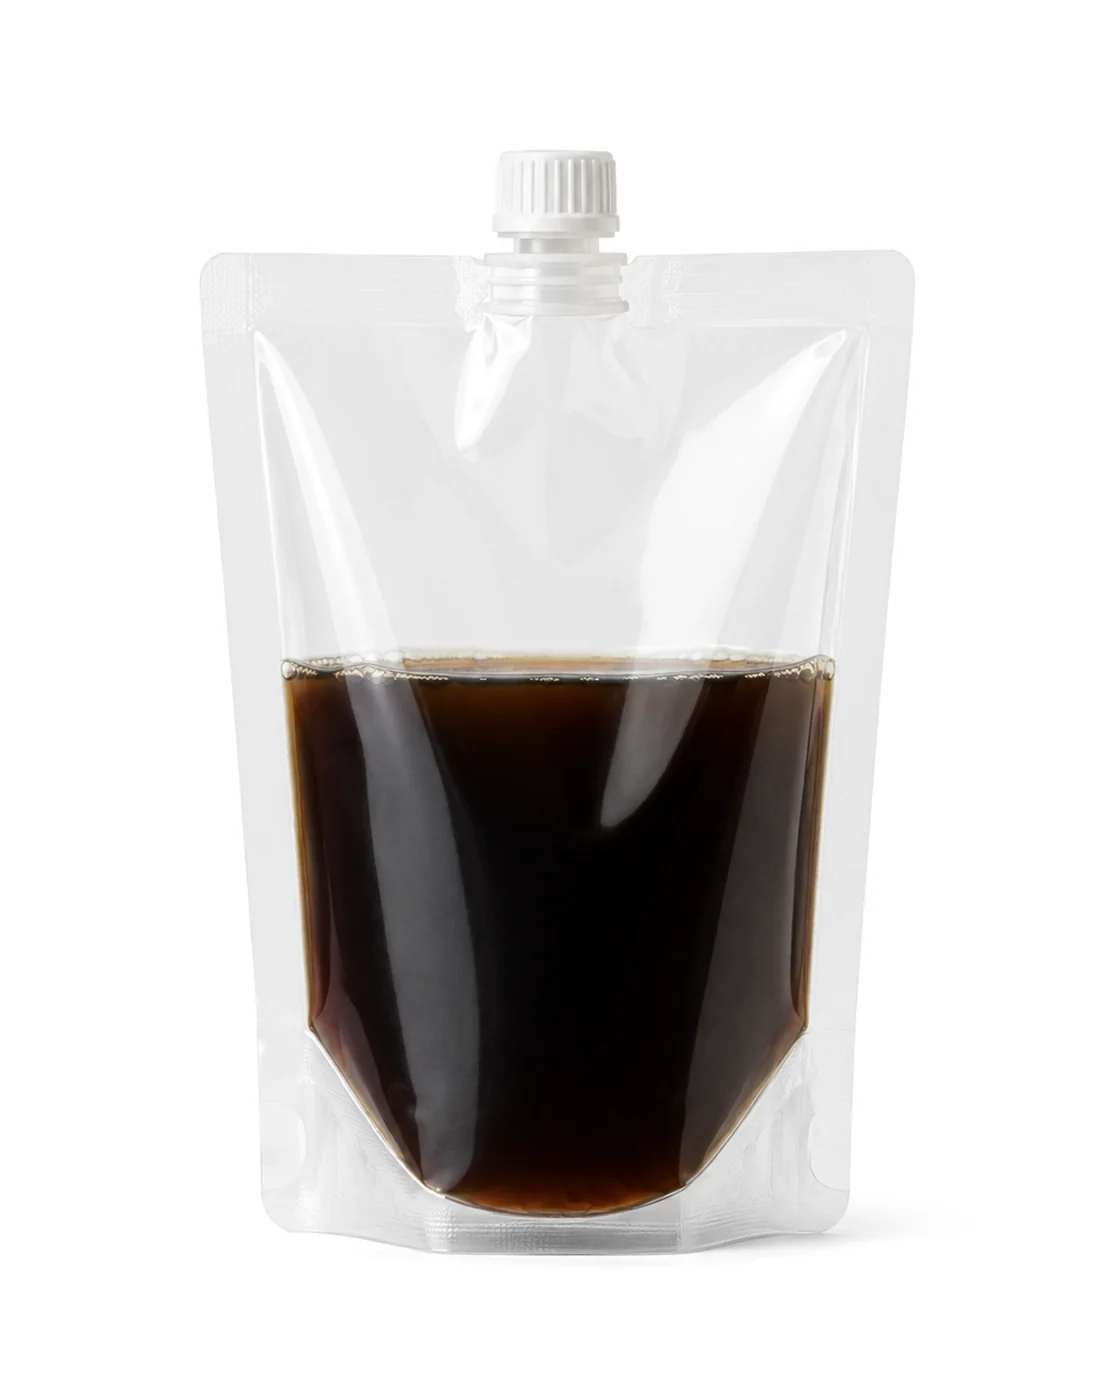
Spout Pouches combine a flexible body with a fitment and cap for ready-to-drink coffee or concentrate. Confirm formulation, fill treatment, fitment position, seal, dispensing behavior, and leak or drop checks before selecting the laminate.
Format details
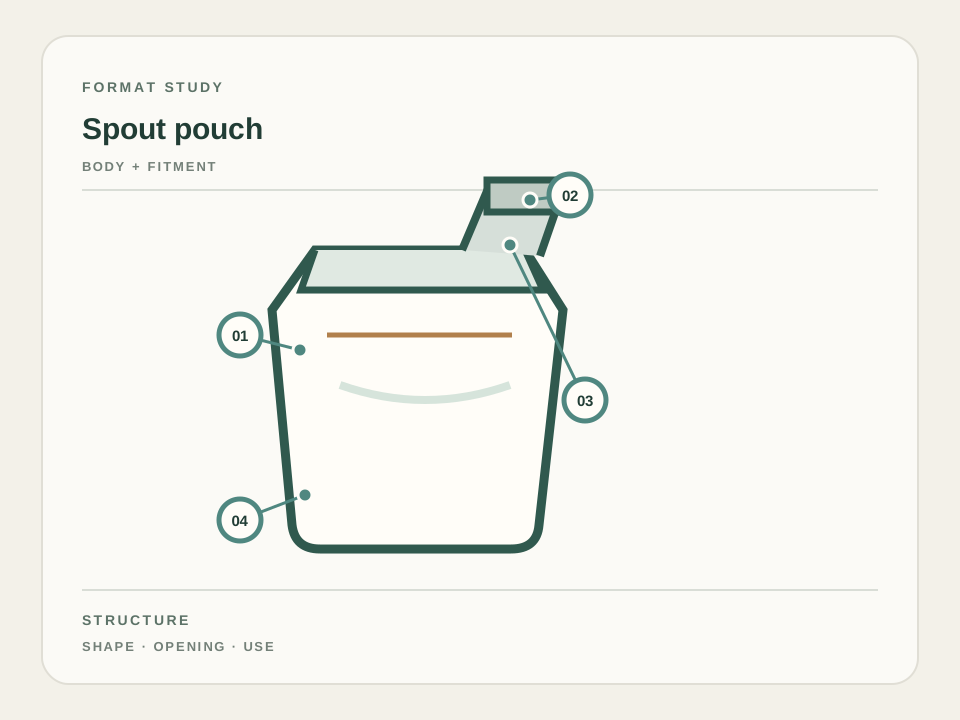
A spout pouch joins a flexible film body to a rigid fitment and cap. The pouch panels hold the liquid; the fitment provides the opening and dispensing path. Spout position changes how the pack is filled, held, and poured. A pouch may stand on its bottom depending on the selected design, but the user routine still matters: drink directly, pour into a cup, squeeze, or connect to equipment. Fitment and body should be considered together.
Practical sequence
Use the opening and fill method agreed for the chosen fitment.
Cap the spout and check the fitment-to-film joint.
Open the cap and pour, squeeze, or connect as intended.
Select pouch shape, capacity, fitment size and position, cap, laminate, print, and opening or tamper feature.
Fill with the intended liquid and check cap use, fitment joint, leaks, grip, pouring control, and transport position. Observe the full pour and any remaining liquid, then note storage orientation after the first opening.
A cold-brew concentrate is being considered for a retail pouch and a foodservice refill. Map serving size, viscosity, fill temperature, cap or tap, and whether the pack is used once or repeatedly. Then test opening, controlled pour, leaks, cap fit, and the space needed to dispense into the customer’s container. Ask the filling partner to review fitment placement and sealing access. A pouch illustration cannot establish hot-fill, retort, or aseptic suitability; those routes require a separate technical review. Record the exact product and process represented by each sample. Review the filled package in its expected storage and serving position, including cap access and support after opening; fitment location can affect pour control and case packing. Test leak and pour behavior with the intended liquid viscosity.
Plan around this format
Choose a spout pouch after the liquid, treatment, filling temperature, fitment, and dispensing routine are known. Confirm spout position, cap or tamper feature, body seal, filling clearance, and whether the user pours, squeezes, or connects the pack to equipment. Test the filled pouch for leaks, drops, cap fit, panel stress, and standing or shipping orientation.
Check the laminate against the product and process rather than using the pouch shape as proof of compatibility. Keep the tested fill volume, fitment, seal route, and distribution handling in the project record.
Buying notes
Open the question that matches your next decision.
The listed size or capacity options are 150 ml, 250 ml, 500 ml, 1 L, and custom capacities. Confirm the project dimension or capacity, product dose where relevant, fit or interface, seal area, and filled or assembled dimensions before approving the artwork.
Confirm formulation, fill temperature or treatment, fitment position, cap, seal, dispensing behavior, and leak or drop checks. The spout process and pouch laminate are selected together.
Send the product, target size or dose, current format, artwork status, quantity, destination, and preferred sample or quote route. Start with PET/NY/PE; PET/AL/NY/PE; recyclable mono-PE directions and use the checks below to frame the first discussion.
Choose with confidence
A spout pouch needs to suit both filling and pouring. Share the liquid process early so the film, spout and cap are reviewed as one packaging system.
See how samples are reviewedProvide the liquid or concentrate, fill volume, filling method and any temperature or treatment steps. Confirm the spout and cap interface with the filling partner. Review the intended storage and delivery route before selecting the pack.
Keep the brand, handling instructions and codes clear of the spout and seals. Check the design on a filled reference so the important information remains readable when the pouch is held and poured.
Agree compatibility, closure, leak and handling checks for the actual product and process. Record the chosen film, fitment and cap with the approval; confirm the trial and supplied components before comparing quotations.
In practice
Filling, dispensing and storage all affect the final pouch system.
Share the coffee formulation, intended fill process, storage conditions and distribution route with the packaging and filling teams. A spout pouch is a format, not a preservation method.
Compatibility with heating, processing or a particular shelf-life target needs specific confirmation. Do not select a pouch from a cold-brew photograph and assume it can be used for a different treatment or an ambient product.
Use the proposed fill volume to assess how the pouch is held, tilted and set down. Review the cap and spout position with the person who will dispense the coffee, especially for concentrates requiring measured portions.
Ask what checks are needed for closure fit and leakage. Keep the instructions for any dilution or opened-product storage aligned with the coffee producer’s validated directions.
Check how the spout and cap sit inside the case and whether neighboring packs or carton walls press against them. Review filled-pouch shape rather than using only flat dimensions.
Agree how the carton identifies the product and lot when multiple recipes share the same pouch appearance. The finished pouch, closure and secondary pack should be reviewed together before the delivery arrangement is finalized.
Product enquiry
Share your coffee, fill weight, planned quantity and destination. Ask about fit, samples or pricing; we will review the details needed for a useful quotation.
Custom production usually starts from 10,000 pieces. Available standard samples are free; shipping is confirmed separately.