
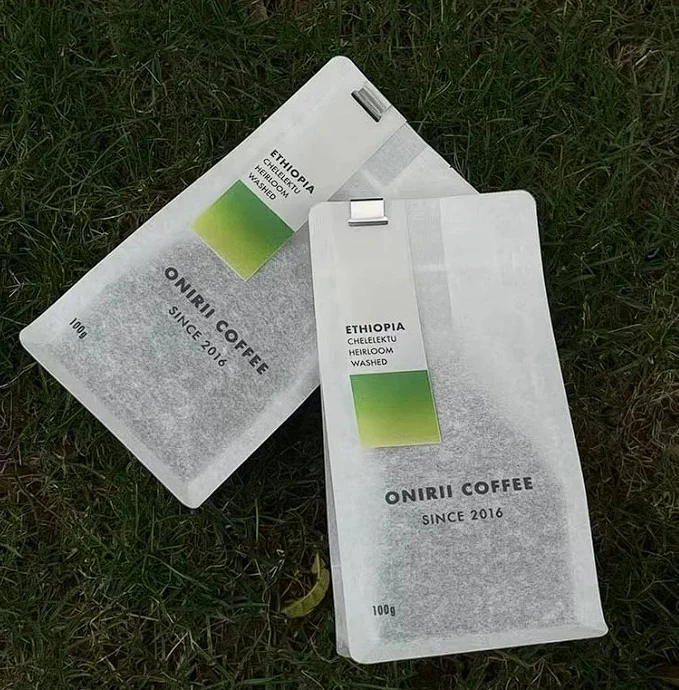
A coffee bag is not a flat poster. Front, back, side gussets, bottom, zipper, seals, tear features and valve all reduce or reshape the usable design area. Artwork should begin only after the bag format and filled dimensions are confirmed.
1. Use the project-specific dieline
Do not build final artwork on a generic template found online. Request the dieline for the approved format, dimensions and converting route. The file should identify trim, bleed, safe areas, folds, seals, zipper, tear direction, valve area and any window or label zone.
If the bag size changes after a fill test, request a new dieline. Scaling an old layout can move important text into a fold or change barcode size.
2. Separate content from production layers
| Artwork layer | What to control |
|---|---|
| Design | Brand graphics, product name, origin, roast, preparation and required copy |
| White ink | Opacity under color on metallic, clear or kraft-facing materials |
| Special finishes | Matte, gloss, spot effects, metallic reveal or registered coating zones |
| Technical marks | Trim, folds, seals, zipper, valve, coding area and window |
| Variable area | Labels, lot/date code, QR code or customer-specific information |
3. Protect the operational information
Keep barcodes and QR codes away from gusset folds, strong curves, low-contrast artwork and high-glare finishes. Scan the code on the actual printed material and, where relevant, on a filled bag. A code that works on a screen is not yet approved for production.
Reserve a clear lot or date-code area based on the customer’s coding equipment. Include any market-specific label copy, certification marks or recycling directions only after the responsible party has confirmed them for the destination.
4. Design the SKU system before multiplying files
Brands with several origins, roasts or seasonal releases can choose full artwork per SKU or one shared base pouch with variable labels. The second route can reduce obsolete inventory, but it needs a defined label size, position, surface and application workflow.
A labelled format such as the flat bottom coffee bag should be reviewed with the real label stock and filled geometry. Corners, kraft texture and matte coatings can change adhesion and visual alignment.
5. Approve in stages
- Content proof: spelling, legal copy, SKU and contact details.
- Technical proof: dieline, bleed, safe zones, valve, zipper and finish separations.
- Color reference: agreed targets and material-specific expectations.
- Physical sample: surface, opacity, label, code and filled-pack appearance.
- Release record: signed artwork version linked to the written specification.
The approved PDF alone is not the entire production reference. Retain the native file, linked fonts or outlined text, images, color references, dieline version, finish layers and final approval date.
Files to send the packaging team
- Editable vector artwork or the requested production format
- Placed images at suitable effective resolution
- Defined process and spot colors
- Separate white-ink and finish layers where required
- Barcode or QR source data
- Reference photos and the person authorized to approve
Research notes
Sources & standards
- GS1: 2D barcodes and packaging use cases
- GS1 Digital Link standard overview
- FDA: food labeling and nutrition resources
Technical references explain the decision framework. Final performance and compliance depend on the exact approved construction, test conditions, intended use and destination market.